Every parent faces the same challenge: finding time to manage the house, cook, or simply rest, while their baby needs a secure, dedicated space to explore. This struggle is real. A baby playpen is the perfect answer, acting not as a restriction but as a secure, safe haven for independent development.
However, getting the setup right is key. Simply assembling it out of the box is not enough. You must understand the safety rules, the best time to start using it, and the smart ways to position it based on your home’s unique size and layout.
This guide is your complete action plan. We’ll show you exactly how to choose the right model, follow a strict safety checklist, and use smart layouts to transform your playpen into a high-value, organized exploration zone. Your safer, more organized home starts here.
When is the Best Time to Introduce a Playpen?
Timing is key when bringing a playpen into your home. The best moment is often tied to your baby’s physical milestones, specifically their ability to move on their own. Most experts agree that the ideal time is before your baby starts crawling or rolling over independently, usually between four and six months old.
Introducing the playpen early, even for short periods, allows your child to see it as a normal, fun part of their environment, not as a punishment or a sudden restriction. Start with just five or ten minutes of play inside, gradually increasing the time. This helps your baby build a positive relationship with the space. If you wait until they are actively crawling and exploring, they may fight the boundary more, viewing it as a barrier to their new freedom.
Which Playpen is Best for Your Family and Space?
Types of Baby Playpens
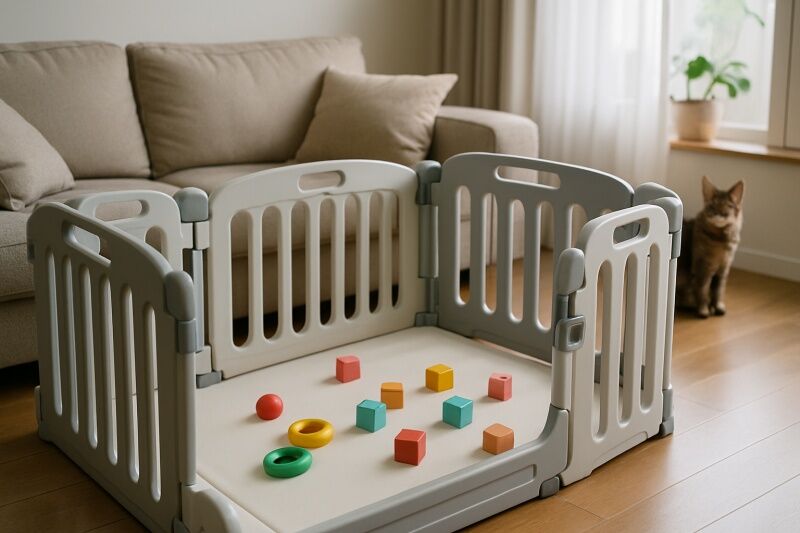
Choosing the right type depends entirely on your needs for portability, size, and ease of cleaning. Here is a quick comparison of the most popular playpen styles:
| Type | Pros | Cons |
| Mesh/Netting Playpens | Lightweight, highly portable, easy to store (often fold into a bag). Good air flow. | It can be harder to clean (must spot-clean or machine wash fabric). Less sturdy for climbers. |
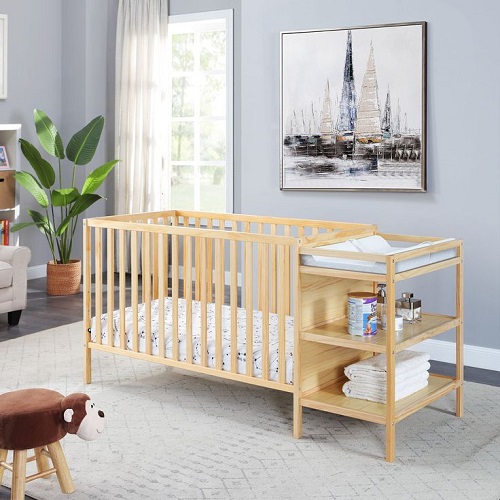
| Wooden/Plastic Playpens | Very sturdy and durable. Offer a traditional look. Easy to wipe clean. | Heavy and difficult to move or fold. Less flexible in terms of shape and size. |
| Modular Panel Playpens | Highly customizable shape and size (can be L-shape, square, or rectangle). Excellent durability. Easy to clean. | Requires more time for initial setup. It can be bulky to store if not fully disassembled. |
A Smart Solution for Small Space
For many modern families, especially those living in apartments or smaller homes, space is a major concern. The bulky, fixed structure of traditional playpens simply doesn’t work. This is where a well-designed modular playpen becomes the smartest solution. Modular systems let you shape the play area to fit your exact room dimensions, turning tight corners or awkward wall spaces into a secure play zone.
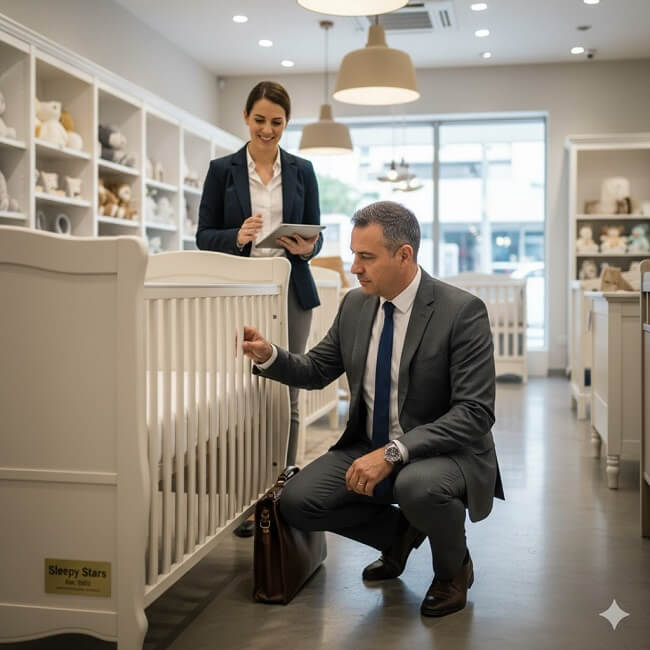
The success of a playpen, like those designed and manufactured with the safety standards of Clafbebe (a professional baby furniture manufacturer), lies in the simplicity of its panels. Clafbebe focuses on making assembly and disassembly a worry-free process for B2C parents. Their designs use intuitive locking mechanisms and simple, easy-to-clean, non-toxic materials. This focus means you spend less time wrestling with complicated instructions and more time enjoying a safer, cleaner environment.
When choosing a playpen, prioritize modularity if space is your challenge. Also, check for Greenguard Gold Certification or similar standards for the safest materials (for example, see one such product here: Child Product Safety Standards). This small step ensures your child’s exploration zone is free from harmful chemicals.
Step-by-Step Setup & The Non-Negotiable Safety Checklist
The Simple 3-Step Assembly Process
Setting up a playpen doesn’t have to be a multi-hour project. Whether you’re using a large plastic modular system or a simple travel model, the process follows three essential steps. Always start by reading your product’s specific manual, but use this as a quick-reference guide.
| Step | Action & Focus |
| 1. Site Preparation | Foundation First: Choose a location away from windows, cords, curtains, and furniture that a child could use to climb out. Ensure the ground is level and clear of debris. |
| 2. Frame Assembly | Connect and Extend: Connect all panels according to the manual. For modular fences, make sure each connecting piece is securely clicked into place. Do not skip this step, as a loose panel is a major safety risk. |
| 3. Lock and Test | Shake Test: Once assembled, give the entire structure a firm but gentle shake in all directions. The frame should not wiggle or shift. Check that all gate locks are engaging properly before allowing your baby inside. |
The Ultimate Playpen Safety Checklist
A playpen is only as safe as its setup. Before leaving your child, even for a moment, you must confirm that the environment meets the highest safety standards. This checklist is non-negotiable for parent peace of mind.
- Height and Climb Risk: Is the top rail of the playpen at least 20 inches (51 cm) higher than your baby’s chest when they are standing? If they can pull themselves up and the rail hits them below the chest, they may be able to climb over soon.
- Gap Spacing: For bar or panel designs, the gap between bars should be less than 2.5 inches (6 cm). This prevents your child’s head or limbs from becoming trapped.
- No Loose Parts: Regularly check for loose screws, sharp edges, or torn mesh. If the fence is used outdoors, check for splinters or rusty parts.
- Toy Safety and Volume: Do not overfill the playpen. Too many large toys, especially soft ones, can be used as stepping stones for climbing. Only use age-appropriate toys that pose no choking hazard.
- Surrounding Hazards: Confirm the playpen is not near any electrical outlets, wall-mounted TVs, or reachable cords. Cords and blinds are among the most common strangulation hazards in a baby’s environment.
Choosing the Right Protective Pad
The floor beneath the playpen is just as important as the walls. Most playpen kits do not include adequate padding, and placing a baby directly on a hard floor can lead to injury, especially as they learn to sit and stand. Protective padding serves two crucial functions: shock absorption and insulation.
The most common solution is a high-density, interlocking foam tile mat. When choosing, look for products that are waterproof and easy to wipe clean—spills and accidents are inevitable. Crucially, choose mats that are non-toxic and free from harsh chemicals, such as those that are BPA-free and Phthalate-free. These mats also provide essential insulation, keeping your baby warm and comfortable when they spend long periods on the floor, allowing for longer, more focused independent play. The right mat can transform the playpen from a simple container into a comfortable, safe, and sensory-rich environment, as reinforced by child development specialists.
Smart Layouts and Transforming the Playpen
Layout Ideas to Maximize Home Space
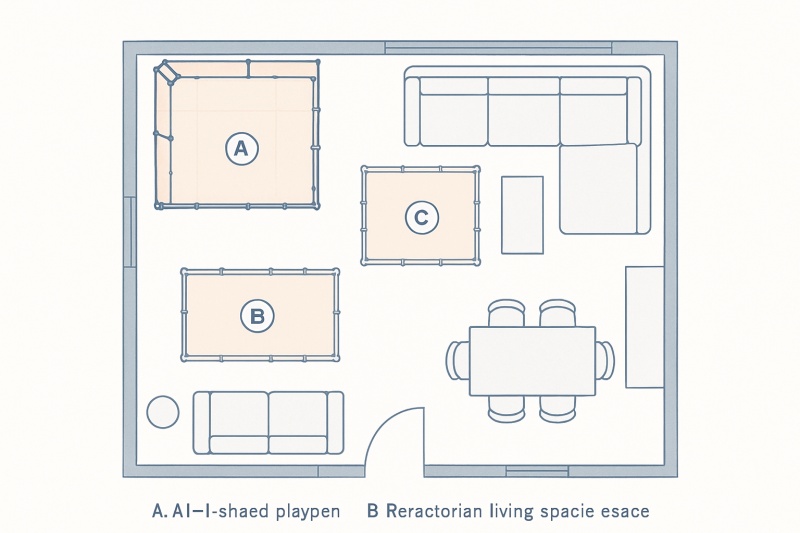
The most common mistake parents make is defaulting to a square or rectangular playpen in the middle of a room. A smart playpen setup works with your room, not against it. By choosing a modular system, you can use these strategic layouts to free up valuable living space and improve traffic flow.
The L-Shape Corner: Ideal for smaller homes or open-plan areas. Instead of pulling the playpen out, use two existing walls as two sides of the fence. This layout maximizes the internal play area while using space that is often wasted. It keeps the playpen secure by limiting the number of panels needed and anchoring it firmly against the walls.
The Room Divider Barrier: If you have a large, open living and dining area, the playpen can act as a soft partition. Use a long, straight modular fence to separate the “adult zone” (like a home office or kitchen area) from the “baby zone” on the floor. This provides a clear visual and physical boundary without needing to buy a full enclosure.
The Open Island: Best for parents who need a 360-degree view of their child. This is a classic square or circle setup in the middle of a large, clear space. While it uses more floor space, it offers the ultimate access for the parent and prevents the baby from getting into tight corners.
What to Put Inside the Baby Playpen?
To truly transform your playpen into a “baby playroom,” you need to think strategically about what goes inside. The goal is to rotate a selection of items to keep the space fresh and stimulating, encouraging different stages of development (from tummy time to standing). Remember: never put all these items in at once; use rotation to avoid over-stimulation.
1. Sensory and Activity Items: Baby Activity Gyms are excellent for newborns and young babies, stimulating senses with crinkly toys and high-contrast colors during tummy time. A dedicated Tummy Time Pillow provides crucial comfort and support as babies strengthen their neck and arm muscles.
2. Comfort and Routine: A Small Mattress or Lounger can provide a safe spot for supervised daytime naps inside the playpen, helping to establish routine. If you are breastfeeding, a Nursing Pillow can be brought in for feedings.
3. Intellectual Stimulation: Introduce Baby-Friendly Books—like cloth or board books that can withstand chewing. You can also include a small, rounded Bookshelf to start building your baby’s first library and teach organization.
4. Safety and Organization: Soft Floor Mats are essential for cushioning falls. Attach Small Storage Bins or Mesh Bags to the side panels for easy, quick clean-up of toys. A low-mounted, shatterproof mirror can provide endless fascination for a baby and encourage self-recognition.
By carefully selecting and rotating these items, you turn the playpen into a rich learning environment. The key is age-appropriate rotation; too many toys at once can be overwhelming.
Playpens for Crawlers and Active Babies
Playpen Selection for the Crawling Stage
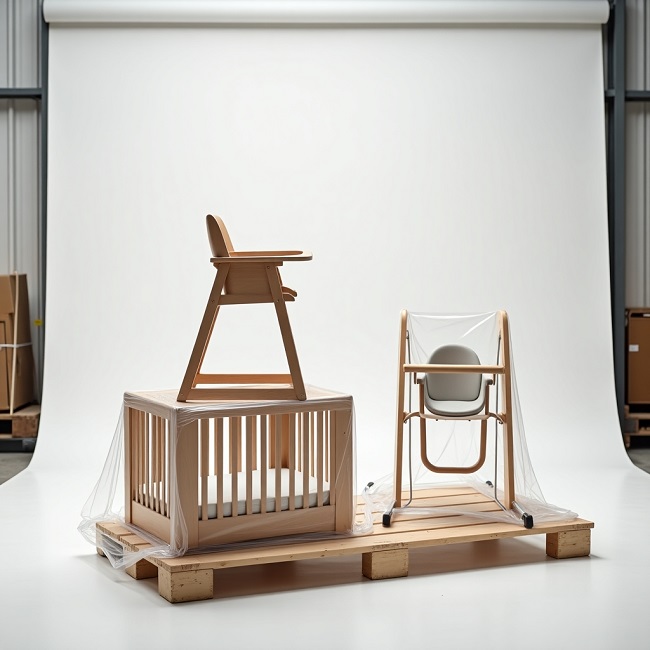
When your baby shifts from rolling to determined crawling and pulling up to stand, your playpen needs to change dramatically. The primary concern becomes stability and height. For active crawlers, you must choose a playpen that is heavy and stable enough not to be pushed across the floor. Modular plastic or wooden models usually offer the best stability.
The height of the fence is crucial. Look for fences with a minimum height of 30 inches (76 cm). Babies who can stand can quickly figure out how to climb if the top rail is too low. Also, inspect the panel design: choose surfaces that are smooth or feature small, non-slip grips. Avoid designs with horizontal bars or large gaps that a baby could use as a ladder to scale the enclosure. Safety anchors or suction cups at the base are highly recommended for added security on hard floors.
Creating a Stimulating and Safe Environment
Once your baby is mobile, the interior of the playpen must support their new skills. Safety is still paramount, so remove any soft objects, blankets, or pillows that could pose a suffocation risk once the baby can pull them up to their face. The focus should shift to encouraging cruising and standing skills.
Place interactive toys, like a low sensory table or activity wall, at the edge of the playpen panels. This placement encourages your baby to pull themselves up to reach and play. For the floor area, introduce simple toys that promote crawling, like a light ball or a soft block, that they can chase safely within the boundaries. Use a small, stable shelf or basket to organize toys, teaching them early organizational skills. This structured approach, emphasizing safe exploration and skill-building, aligns with expert advice on maximizing playtime value.
Conclusion: Your Safe Haven Starts Now
We began this guide by noting that a playpen is more than just a barrier; it is a tool for safe, independent development and a necessary source of peace for parents. By following the steps outlined here—from selecting a stable, height-appropriate model to implementing smart, space-saving layouts—you transform a simple piece of furniture into a high-value exploration zone.
Remember, the most effective playpen use involves rotation. Rotate toys to keep the environment fresh, and rotate your child’s time, allowing for supervised exploration outside the fence when possible. Above all, prioritize the safety checklist. Now, apply the Ultimate Safety Checklist to your current setup.
Recommended Related Articles: