Did you know? Diaper changes are an interaction you and your baby will share over 8,000 times in the first two years. If set up poorly, this task can quickly drain your patience and pose safety or health risks. This isn’t a simple shopping list; it’s a systematic setup guide directed by professional parenting experts and furniture safety standards. We will focus on three core pillars: structural safety, operational efficiency, and parent ergonomics. Get ready—we’ll help you build a safe, efficient, and healthy professional-grade diaper station.
Do I Really Need a Dedicated Change Table?
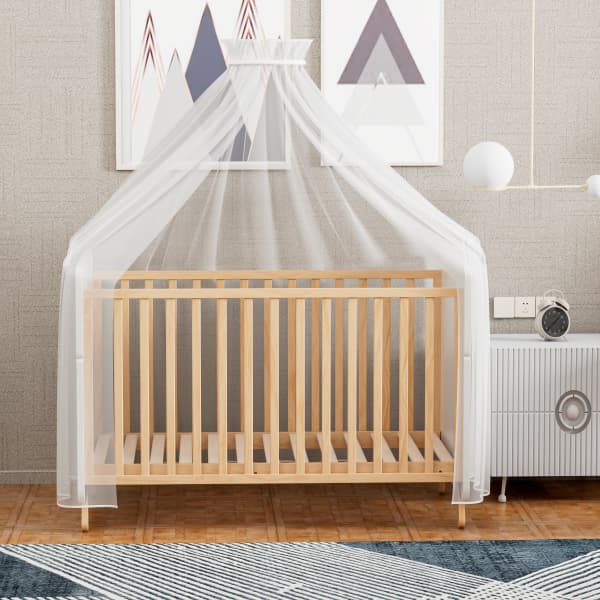
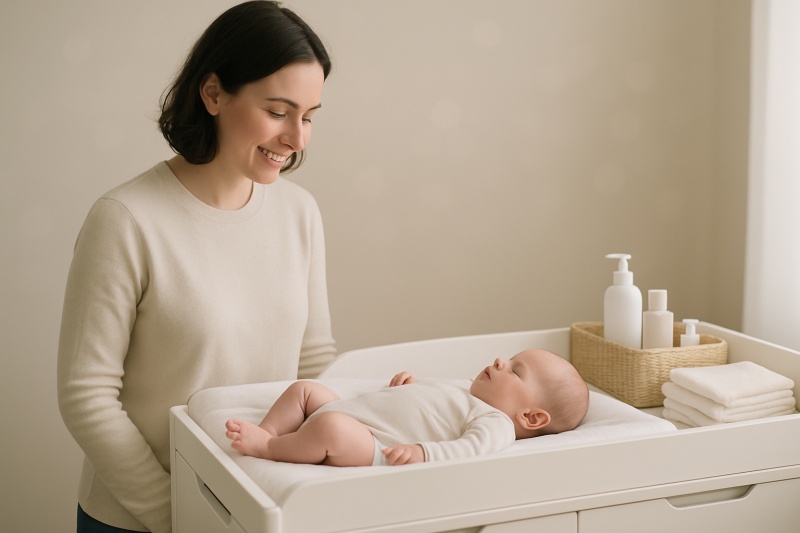
This is a question we hear all the time. The short answer is: not necessarily, but it is highly recommended. The greatest value of a dedicated change table or changing cabinet lies in its fixed, ergonomic height and safety guards. It standardizes your changing posture, effectively protecting your back and lower back.
However, if you live in a small apartment, a multi-story home, or are on a tight budget, you can consider a “mini diaper station setup. A mini station is essentially a safe, flat area equipped with a portable caddy, such as the top of a sturdy dresser, a foldable changing mat, or even a dedicated floor mat.
Ideal Users for a Mini Diaper Station:
- Families with limited space: Those who cannot accommodate a large piece of furniture.
- Parents in multi-story homes: You can set up a mini station on different floors to avoid constant trips up and down stairs.
- Parents seeking flexibility: Those who prefer to complete quick changes in the living room or outside the nursery.
Buying a standalone change table is an investment in your long-term parenting health and operational efficiency; while a “mini setup” is your flexible, practical second option.
How Do I Choose a Change Table/Cabinet?
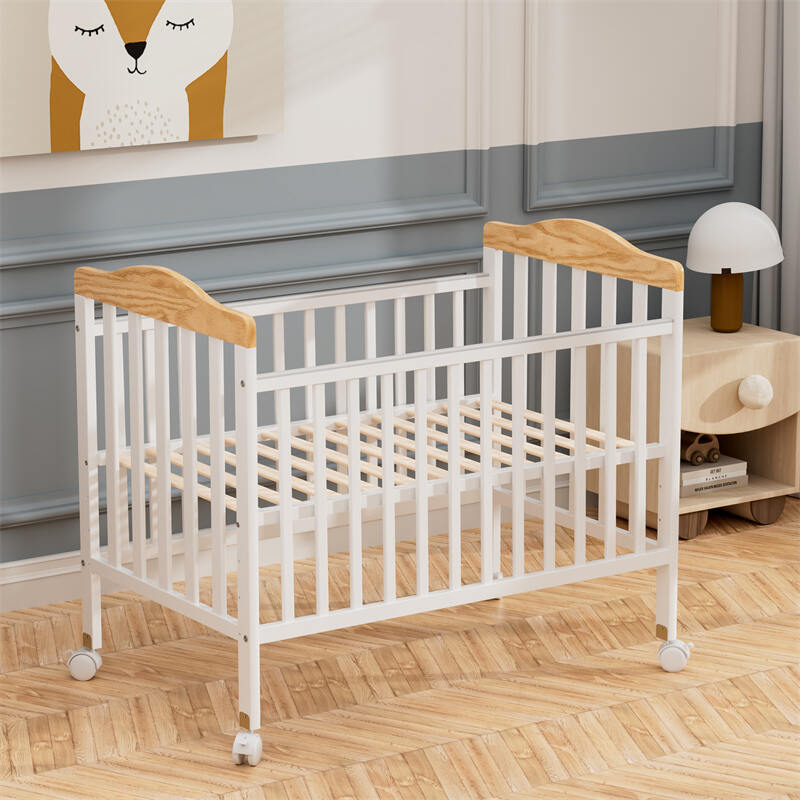
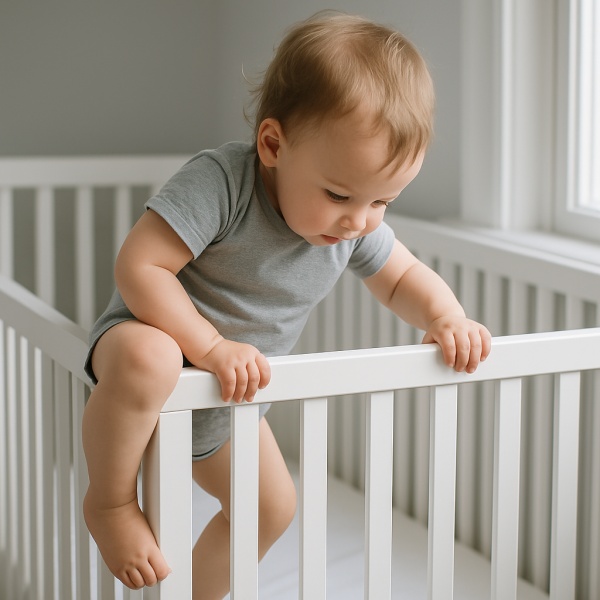
Choosing a change table is not just about looks or price; it is a safety investment. Because babies are active and lack a sense of danger, the structural stability of the change table is a bottom line you cannot compromise on. Many international safety bodies (such as the US Consumer Product Safety Commission, CPSC) have strict standards for this type of furniture. When making your choice, always check the following four “non-negotiable” safety points:
- Height and Guardrails: The changing surface must have guardrails or raised edges of at least 2 inches (about 5 cm) on all four sides. This is the primary defense against your baby rolling or falling off.
- Anti-Tip Kit: If you choose a changing cabinet or dresser with drawers, you must use the included anti-tip kit to secure the furniture to the wall. This is critical for preventing furniture tip-overs that can lead to tragedy.
- Stability Testing: The furniture must be stable, whether open or closed. Wobbly, shaky, or flimsy products—even slightly—should be ruled out.
- Non-Toxic Finishes and Materials: Since babies frequently touch furniture surfaces, you must confirm that the product uses lead-free and phthalate-free non-toxic coatings. This protects your baby’s respiratory health and contact safety.
Why Are Multi-functional, High-Standard Designs the “Best Solution”?
After meeting the basic safety bottom lines, expert parents also consider long-term value and efficiency. A single-function change table that only meets minimum safety standards will soon become unused as the baby grows. High-standard manufacturers combine a parent’s “heart” with a master’s “hand.” They offer multi-functional baby furniture solutions, such as change tables that can be removed and seamlessly converted into a high-capacity storage cabinet or a desk.
We recommend you explore brands that integrate safety, practicality, and design from the outset. These companies solve real parent pain points by designing products that surpass industry standards. For instance, professional manufacturers like Clafbebe not only ensure every product has the highest level of international safety certification but also strive to empower parents through simplified assembly, easy-to-clean materials, and intuitive functional operation, making the change area a professional and efficient parenting workstation.
What Are the Must-Have Items for a Diaper Station?
An efficient change station allows you to stay calm during an “emergency.” The single core principle you must remember is: never take your hands off your baby. This means every item you need must be accessible with one hand or without leaving your baby. According to statistics, how many times does a newborn need diaper changes in a day? The surprising answer is 10 to 12 times, so efficiency is critical.
To achieve this, follow these two layout strategies:
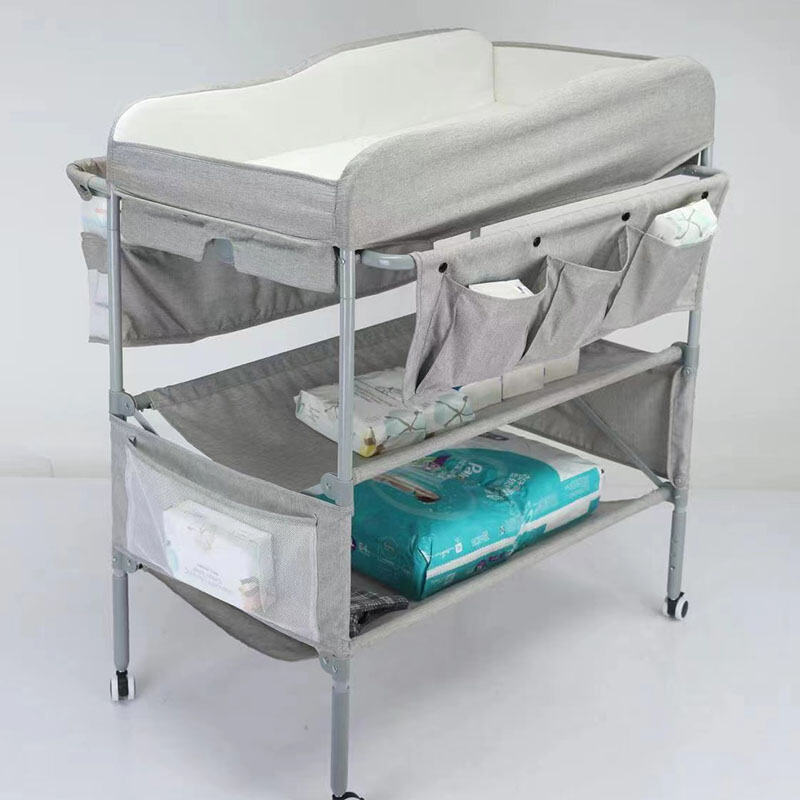
- The Reachability Principle: Place the most frequently used items (like diapers and wipes) on the top level of the change table, closest to your body. You should be able to grab and open them with just one hand. Items used less often or bulkier supplies (like spare sheets or extra stock) should be stored in lower drawers or cabinets.
- The Vertical Storage Principle: Utilize wall space or the sides of the change table. Using vertical caddies or wall-mounted organizers prevents the top surface from getting cluttered while keeping items dry and sanitary.
We often emphasize that well-organized storage habits can significantly reduce parental anxiety. A thoughtfully designed change area lets you focus on your baby, rather than fumbling for supplies in a messy space. To help you get set up perfectly, we provide a comprehensive checklist covering diaper changing, health care, and hygiene protection.
The efficient diaper station relies on two core strategies: The Reachability Principle and the Vertical Storage Principle. Together, they ensure all 13 essential items are accessible without turning away from your baby.” To boost your setup efficiency, here is a checklist of essential items and their optimal storage locations:
| Category | Must-Have Item | Best Storage Location | Practical Tip |
| Diapering | Diapers | Within Arm’s Reach (e.g., open shelf) | Keep at least a day’s supply and have the next size up nearby. |
| Wipes / Dry Wipes | Right next to diapers, in a one-hand-operable container. | Dry wipes (with warm water) are better for sensitive skin, reducing chemical irritation. | |
| Rash Cream / Barrier Cream | In a small, non-rolling caddy. | Use a pump or squeeze package to prevent cross-contamination. | |
| Hygiene & Protection | Change Pad Liners | Stacked in the first drawer below the surface. | Have both disposable and washable liners for big messes and daily protection. |
| Hand Sanitizer | On the high side of the change table exterior. | Crucial: Must be out of the baby’s reach, but accessible for you before and after the change. | |
| Health & Grooming | Basic Health Caddy | Vertical caddy or top corner. | Include: Baby thermometer, saline nasal drops, nail clippers or file, soft brush. |
| Distraction Tool | Hanging above or on the side. | Only for changing time. Choose high-contrast toys that are easy to sanitize and have no small parts. | |
| Clothing & Storage | Extra Outfit | Drawer or lower shelf. | Have at least one full outfit (top and bottom) ready for emergencies. |
| Small Laundry Hamper | Right next to the change table. | Dedicated spot for soiled clothes, making laundry easier. |
How to Prevent Back Pain from Diaper Changes?
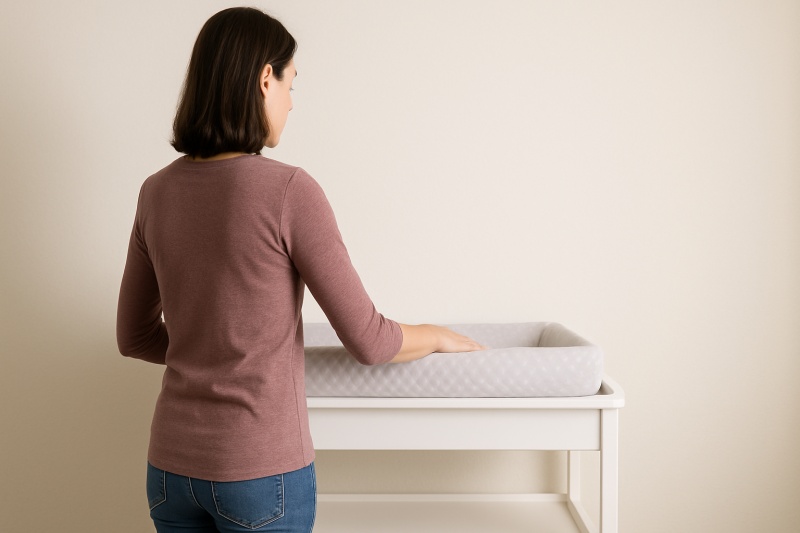
Diaper changing is a highly repetitive task, and many parents feel pressure on their lower backs and necks when bending or twisting. Creating an ergonomically sound change area is a vital investment in your own health.
The optimal height principle is key: The surface of the change table should be located between your elbow and your waist. When you stand straight, your elbows should be able to rest naturally and effortlessly on the mat. This height allows you to perform the task primarily using your arms, rather than bending your back.
Beyond height, your stance and movement matter significantly. When changing, keep your feet shoulder-width apart. If possible, place one foot gently on a low stool, which can help relieve pressure on your lower back. Most importantly, absolutely avoid twisting your body to reach for supplies during the process. This is why we stressed that all essentials must be within arm’s reach in the checklist.
How to Properly Clean and Maintain a Change Table?
The change table is one of the places in the house where germs are most likely to grow. Regular, professional cleaning is crucial for maintaining your baby’s health.
Correct cleaning steps begin with daily sanitization: After each change, if the changing pad is soiled, immediately perform spot cleaning using non-toxic, bleach-free baby-safe wipes or a sanitizing spray. Building on this is deep cleaning: At least once a week, thoroughly wipe and disinfect the hard surfaces of the change table (such as wood or plastic) using mild soapy water or a diluted white vinegar solution. It is critical to remember that soiled clothing and wet diapers must be immediately placed in a lidded diaper pail or laundry hamper and must not linger in the change area.
Many parents make common mistakes. The first is only cleaning the removable mat, often overlooking the furniture surface underneath, the guardrails, and the surrounding caddies, which are prone to collecting dust and germs. Another essential point is the choice of cleaners: avoid using any cleaning agents containing bleach or strong chemicals, as babies’ skin and respiratory systems are highly sensitive to residues. Finally, never clutter the surface with too many items; this is not only unsafe but also creates cleaning blind spots, hindering effective wiping and sanitization.
Summary
Congratulations—you’ve now been upgraded from a regular “parent” to a “Diaper Station Design Expert.” The ultimate value of this area is simple: trading upfront planning for long-term peace of mind and efficiency. Our key next step for you is to immediately assess your current setup against our comprehensive checklist and make adjustments. If you are in the furniture-buying phase, prioritize multi-functional solutions like Clafbebe that balance safety and ergonomics. Use professional standards to simplify the daily routine of parenting.